DIY Toilet Plumbing Repair: Step-by-Step Solutions
Toilet plumbing repairs can seem intimidating, but many common issues can be tackled with a little patience and the right tools. From fixing clogs to repairing leaks, this guide will walk you through DIY toilet plumbing repairs that can save you time and money. Whether you’re a seasoned DIYer or a beginner, these step-by-step solutions will help you get your toilet running like new again.
1. Fixing a Clogged Toilet
One of the most common toilet plumbing problems is a clog. Over time, toilet paper, waste, and other debris can build up and block the drain, causing slow flushing or water backup. Thankfully, most toilet clogs are easy to fix with a few basic tools.
Step-by-Step Guide to Fixing a Clogged Toilet
Prepare Your Tools: You’ll need a plunger (preferably a flange plunger for toilets) and rubber gloves to keep things sanitary.
Position the Plunger: Place the plunger into the toilet bowl, ensuring that the flange is inserted into the drain hole to create a tight seal.
Plunge the Toilet: Push the plunger up and down in a vigorous motion, maintaining the seal. After several minutes of plunging, check if the water drains. If it does, you’ve successfully cleared the clog.
Use a Toilet Auger (if necessary): If plunging doesn’t work, use a toilet auger (plumbing snake). Insert the auger into the toilet drain, twisting it to break up the clog. Pull out the auger, and flush to ensure proper drainage.
If the clog persists after trying these steps, you might need to consult a plumber, especially if the issue is deeper in the plumbing system.
2. Fixing a Running Toilet
A running toilet wastes both water and money, as the tank continuously refills even when the toilet hasn’t been flushed. This is often caused by a malfunctioning flapper, faulty fill valve, or improperly adjusted float.
Step-by-Step Guide to Fixing a Running Toilet
Turn Off the Water Supply: Start by turning off the water to the toilet using the shut-off valve located behind the toilet near the floor.
Inspect the Flapper: The flapper controls the flow of water into the bowl. If it’s worn, damaged, or misaligned, it could cause the water to continue running. Lift the tank lid, check the flapper, and replace it if needed. You can buy a replacement at any hardware store.
Adjust the Float: If the water level in the tank is too high, it will cause the toilet to run. Adjust the float to lower the water level, which should stop the water from overflowing into the overflow tube.
Check the Fill Valve: If adjusting the float doesn’t help, the fill valve may be faulty. If it’s not filling properly or is continuously running, you’ll need to replace it. Shut off the water, disconnect the old fill valve, and install the new one according to the manufacturer’s instructions.
Once all repairs are made, turn the water back on and test the flush. The toilet should stop running after a successful repair.

3. Fixing Toilet Leaks
Toilet leaks are another common issue that can lead to water damage and increased water bills. Leaks can occur at the base of the toilet or inside the tank, often due to worn seals, cracked components, or loose fittings.
Step-by-Step Guide to Fixing Toilet Leaks
Identify the Source of the Leak: If water is leaking around the base of the toilet, the wax ring seal between the toilet and the floor may be compromised. If it’s leaking from the tank, check the tank bolts, the flush valve, or the fill valve.
Fixing Leaks Around the Base:
Turn Off the Water: Begin by shutting off the water supply.
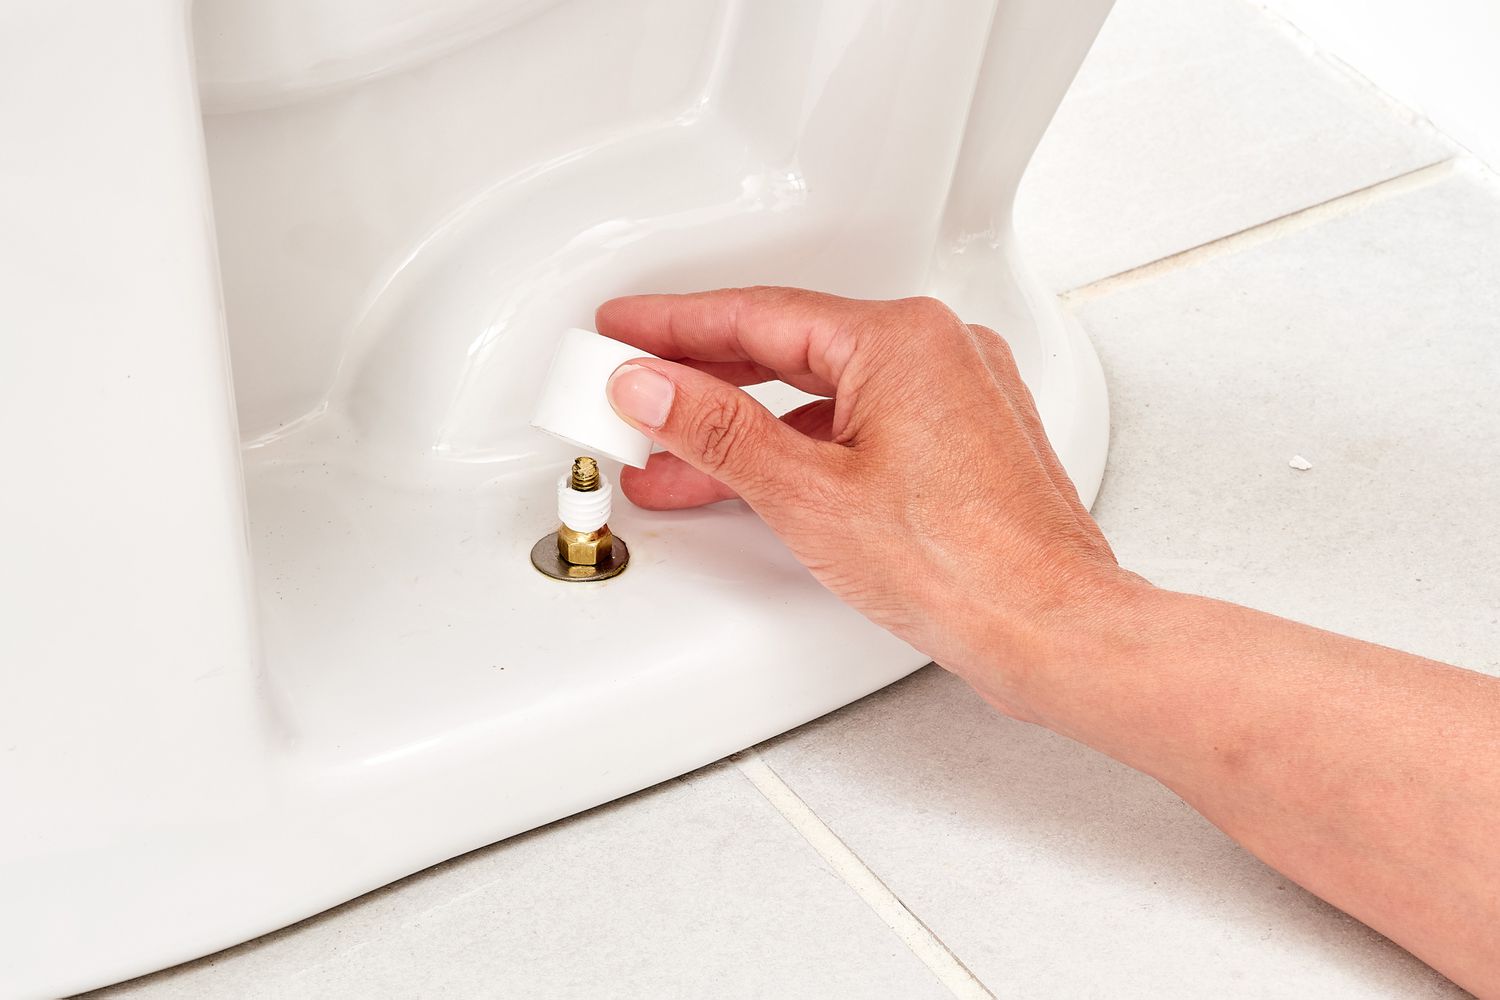
Remove the Toilet: Unscrew the bolts securing the toilet to the floor and lift the toilet off the flange. Remove the old wax ring.
Replace the Wax Ring: Place a new wax ring on the flange and carefully reinstall the toilet.
Tighten the Bolts: Secure the toilet back in place and tighten the bolts.
Fixing Leaks in the Tank:
Inspect the Tank Bolts: Tighten any loose tank bolts.
Check the Fill Valve: If water is leaking from the fill valve, replace it.
Examine the Flush Valve: A faulty flush valve can cause leaks inside the tank. Replace the valve if you find any cracks or damage.
4. Fixing a Weak Flush
A weak flush often means that not enough water is being released to clear the bowl, which can be frustrating and inefficient. Common causes of weak flushes include clogged rim jets, low water pressure, or a malfunctioning flush valve.
Step-by-Step Guide to Fixing a Weak Flush
Clean the Rim Jets: The rim jets are small holes around the inside of the toilet bowl that release water during a flush. If these become clogged, the flush will be weak. Use a wire hanger or a small brush to clean the jets, or pour vinegar into the bowl to dissolve any mineral buildup.
Check the Water Supply: Ensure that the water supply valve is fully open. Low water pressure can result in weak flushes, so check the fill valve to ensure that it’s working properly.
Replace the Flush Valve: If the flush valve doesn’t open fully or the chain is too loose, it can lead to weak flushing. Adjust or replace the flush valve if necessary.
After cleaning the jets and ensuring proper water flow, test the flush. A strong, effective flush should follow.
5. Replacing the Toilet Handle
If your toilet handle is stiff or broken, it can prevent the toilet from flushing properly. This is usually a result of a loose chain or worn-out components inside the tank.
Step-by-Step Guide to Replacing the Toilet Handle
Turn Off the Water Supply: Before beginning any repair, turn off the water supply to the toilet to avoid any leaks.
Remove the Toilet Tank Lid: Lift the lid off the toilet tank and locate the flush handle assembly.
Disconnect the Handle: Use a wrench to loosen and remove the nut that secures the handle to the tank. Detach the chain from the flush lever.
Install the New Handle: Attach the new handle to the tank and connect the chain to the flush valve. Ensure the chain has a small amount of slack but isn’t too loose.
Test the Handle: Turn the water supply back on and test the handle. It should operate smoothly and trigger a full flush.
6. Preventative Toilet Plumbing Maintenance
Proper maintenance is key to preventing future plumbing problems with your toilet. Regularly inspecting and maintaining the components will help keep your toilet running efficiently.
Tips for Preventative Maintenance
Check the Water Level: Ensure the water level in the tank is correct, which helps optimize flushing power.
Inspect for Leaks: Regularly check the base of your toilet for any signs of water leakage.
Clean the Toilet Components: Clean the rim jets, flush valve, and other components regularly to prevent buildup and clogs.
Replace Worn Parts: Over time, components like the flapper, fill valve, and flush valve can wear out. Replacing them before they fail can prevent bigger issues.
Conclusion
DIY toilet plumbing repairs are manageable when you have the right knowledge and tools. From fixing a clogged toilet to replacing a worn-out handle, these step-by-step solutions will help you address common toilet issues without the need for professional help. Always be cautious, follow the instructions carefully, and don’t hesitate to call a plumber if the problem persists or if you’re unsure about tackling a repair yourself.
By regularly maintaining your toilet and handling small plumbing issues early, you can prevent costly repairs and ensure that your toilet functions effectively for years to come.